
A bar-and-chain swap is one of the most useful repairs a homeowner can learn. The job is straightforward, but the details matter: chain direction, drive-link seating, and final tension all affect cut quality and safety.
Check the numbers first
Before loosening the clutch cover, compare the replacement kit against the saw label or manual:
- Pitch
- Gauge
- Drive-link count
- Bar mount
A chain can look almost right and still be wrong. If the drive links do not sit fully in the bar groove, stop and recheck gauge before running the saw.
Bench prep matters
Engage the brake, remove the battery or disconnect the plug, and clear the area around the sprocket cover before you start. Packed sawdust around the oiler slot and bar pad is one of the fastest ways to make a fresh kit feel cheap.
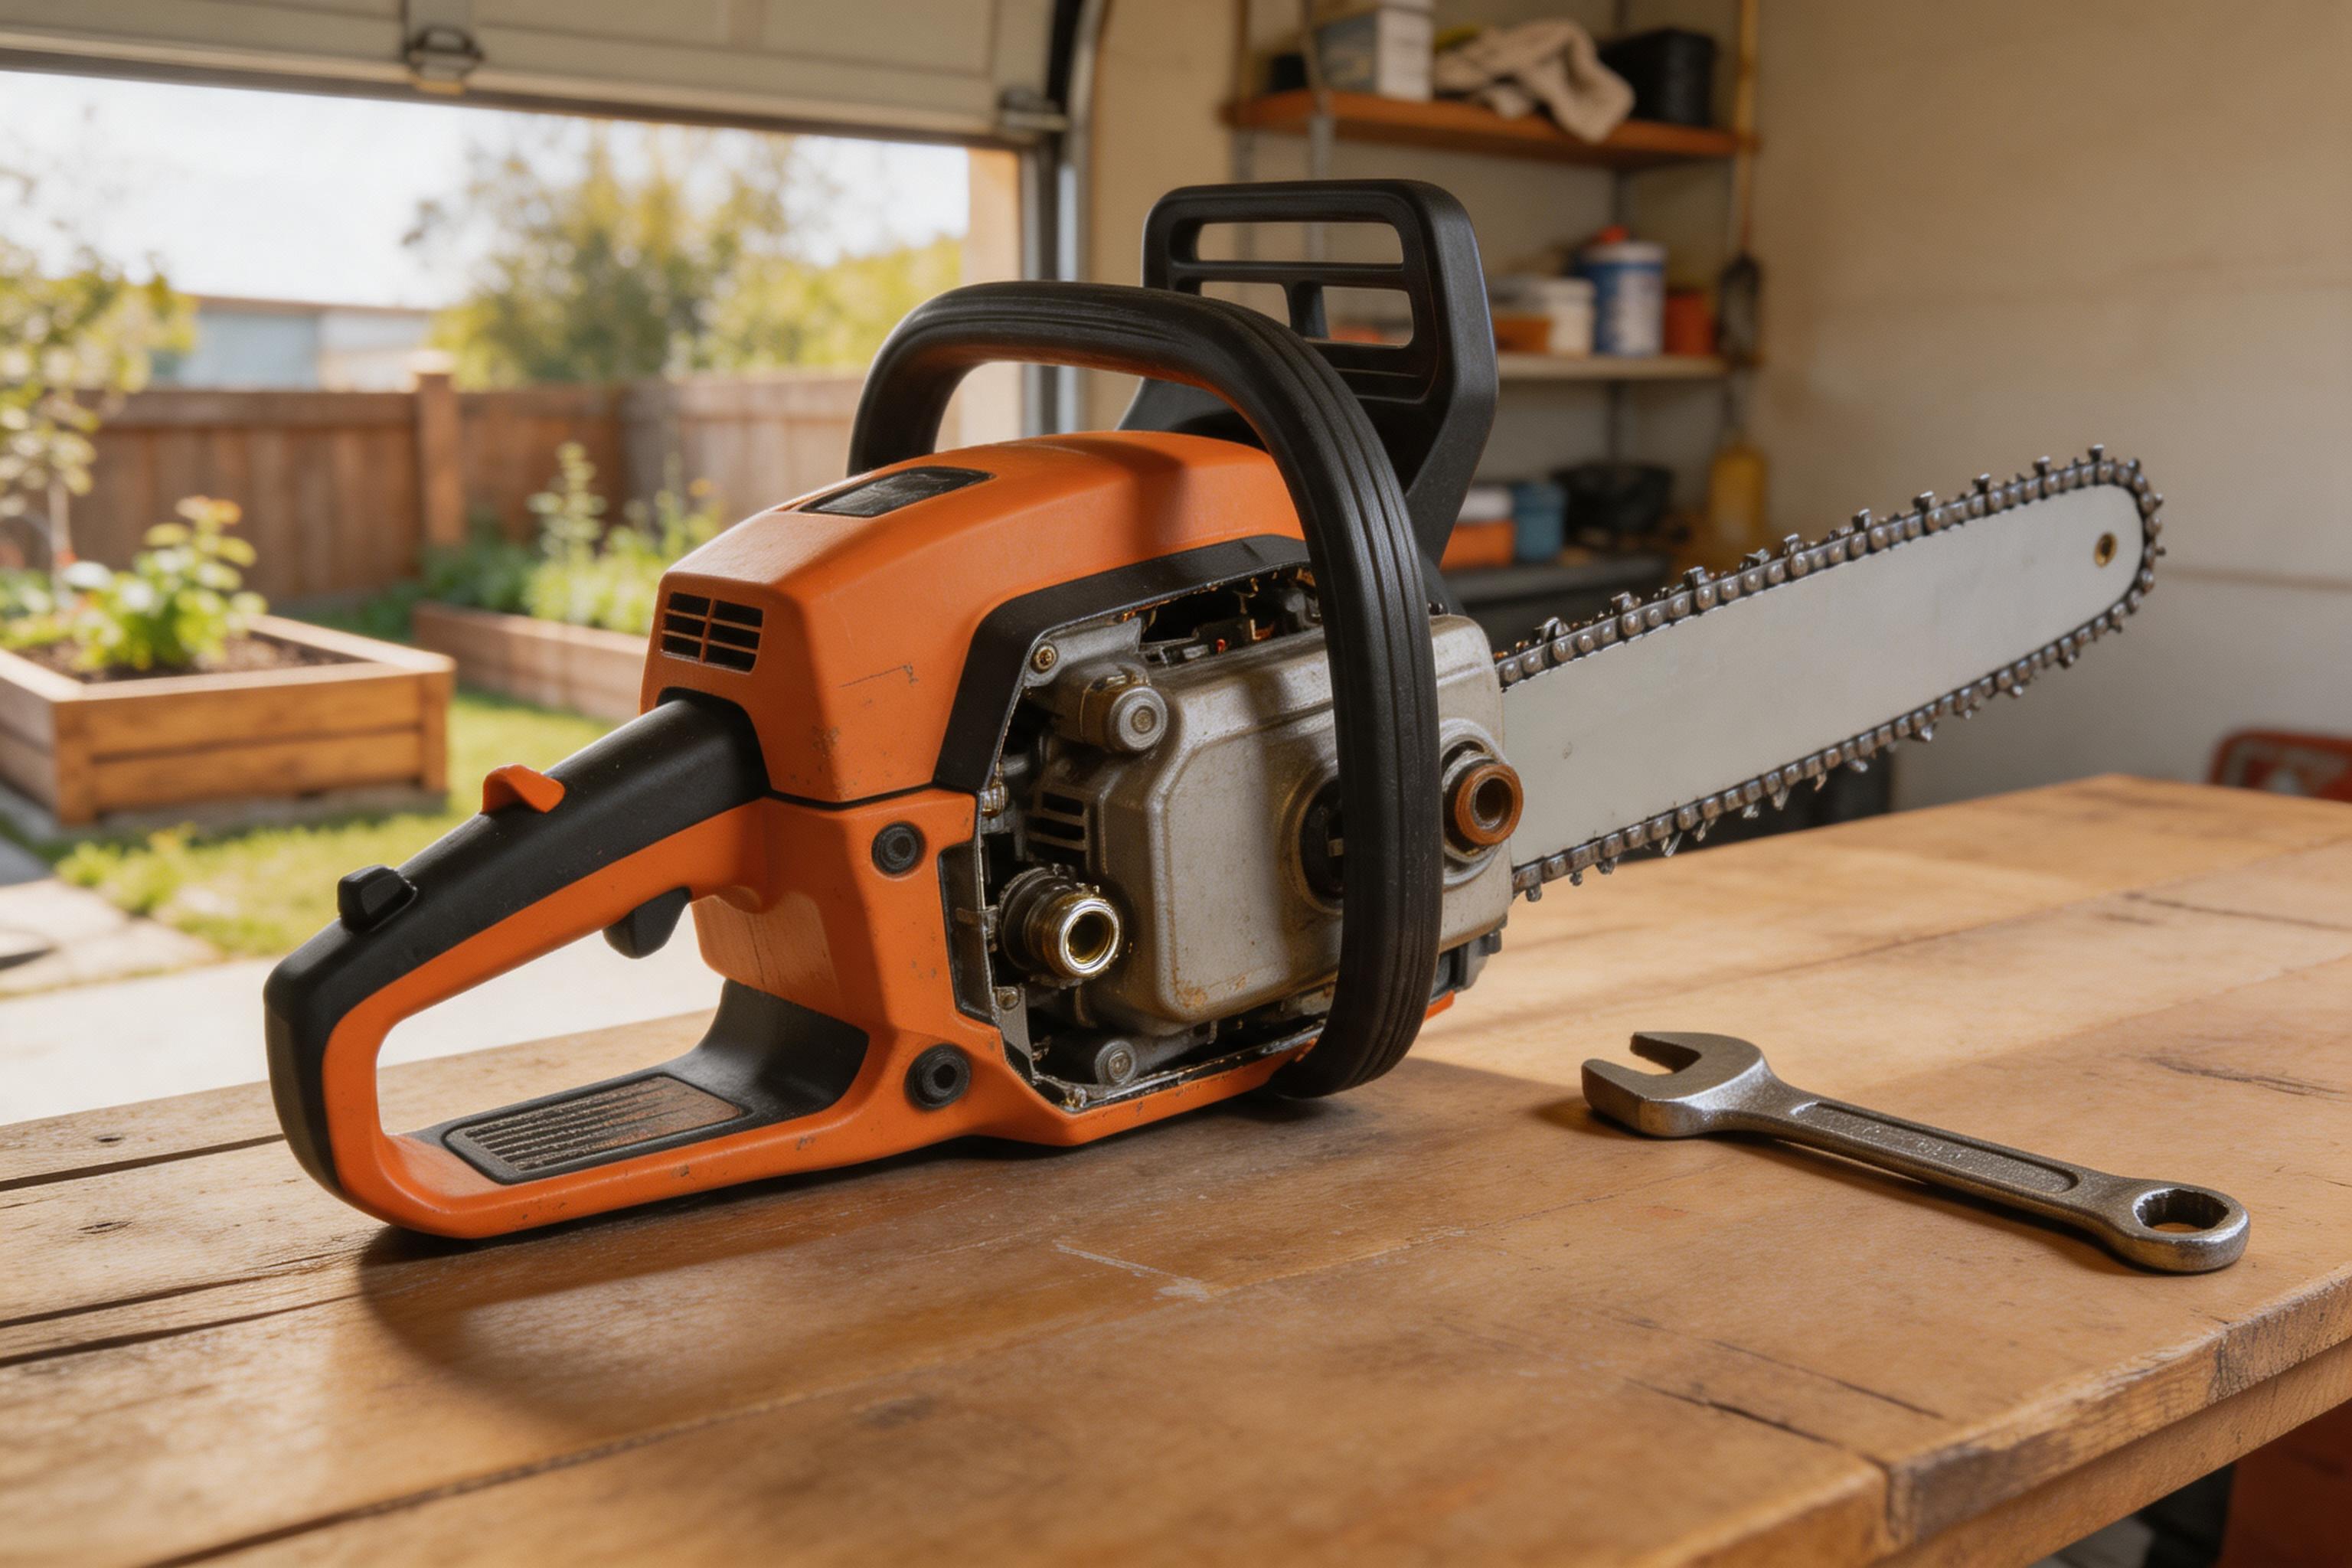
That is the condition you want before the new hardware goes on: clean pad, visible tension pin, and no oily chip paste hiding the fit surfaces.
Step 1: Remove the old bar and chain
Loosen the bar nuts, remove the clutch cover, then lift the old chain away from the sprocket and slide off the old bar.
Step 2: Install the new bar
Clean the mounting face and oil port. Place the replacement bar on the studs and check that the tensioning pin is aligned with the bar hole.
Step 3: Set chain direction
The cutter teeth on the top of the bar should point forward toward the nose. Seat the chain around the drive sprocket first, then into the bar groove all the way around.
Step 4: Tension and test
Reinstall the cover loosely. Lift the bar nose and turn the tension screw until the chain sits against the underside of the bar without sagging. It should still pull by hand with gloves on. Tighten the nuts, then recheck tension after the first short cut.