
A trimmer spool swap is small work, but it is the kind of small work that decides whether edging the lawn takes eight minutes or turns into a half-hour of pulling line by hand.
Before you open the head
Remove the battery first. Set the trimmer on a bench or patio table where the head is easy to reach, then brush out dry grass from around the cap. If the head is packed with old clippings, the new spool can sit slightly crooked and the line will not feed cleanly.
That quick visual check catches the two usual causes of a bad reload: the spool is not sitting flat, or the line path is already pinched by debris.
Step 1: Match the spool and line
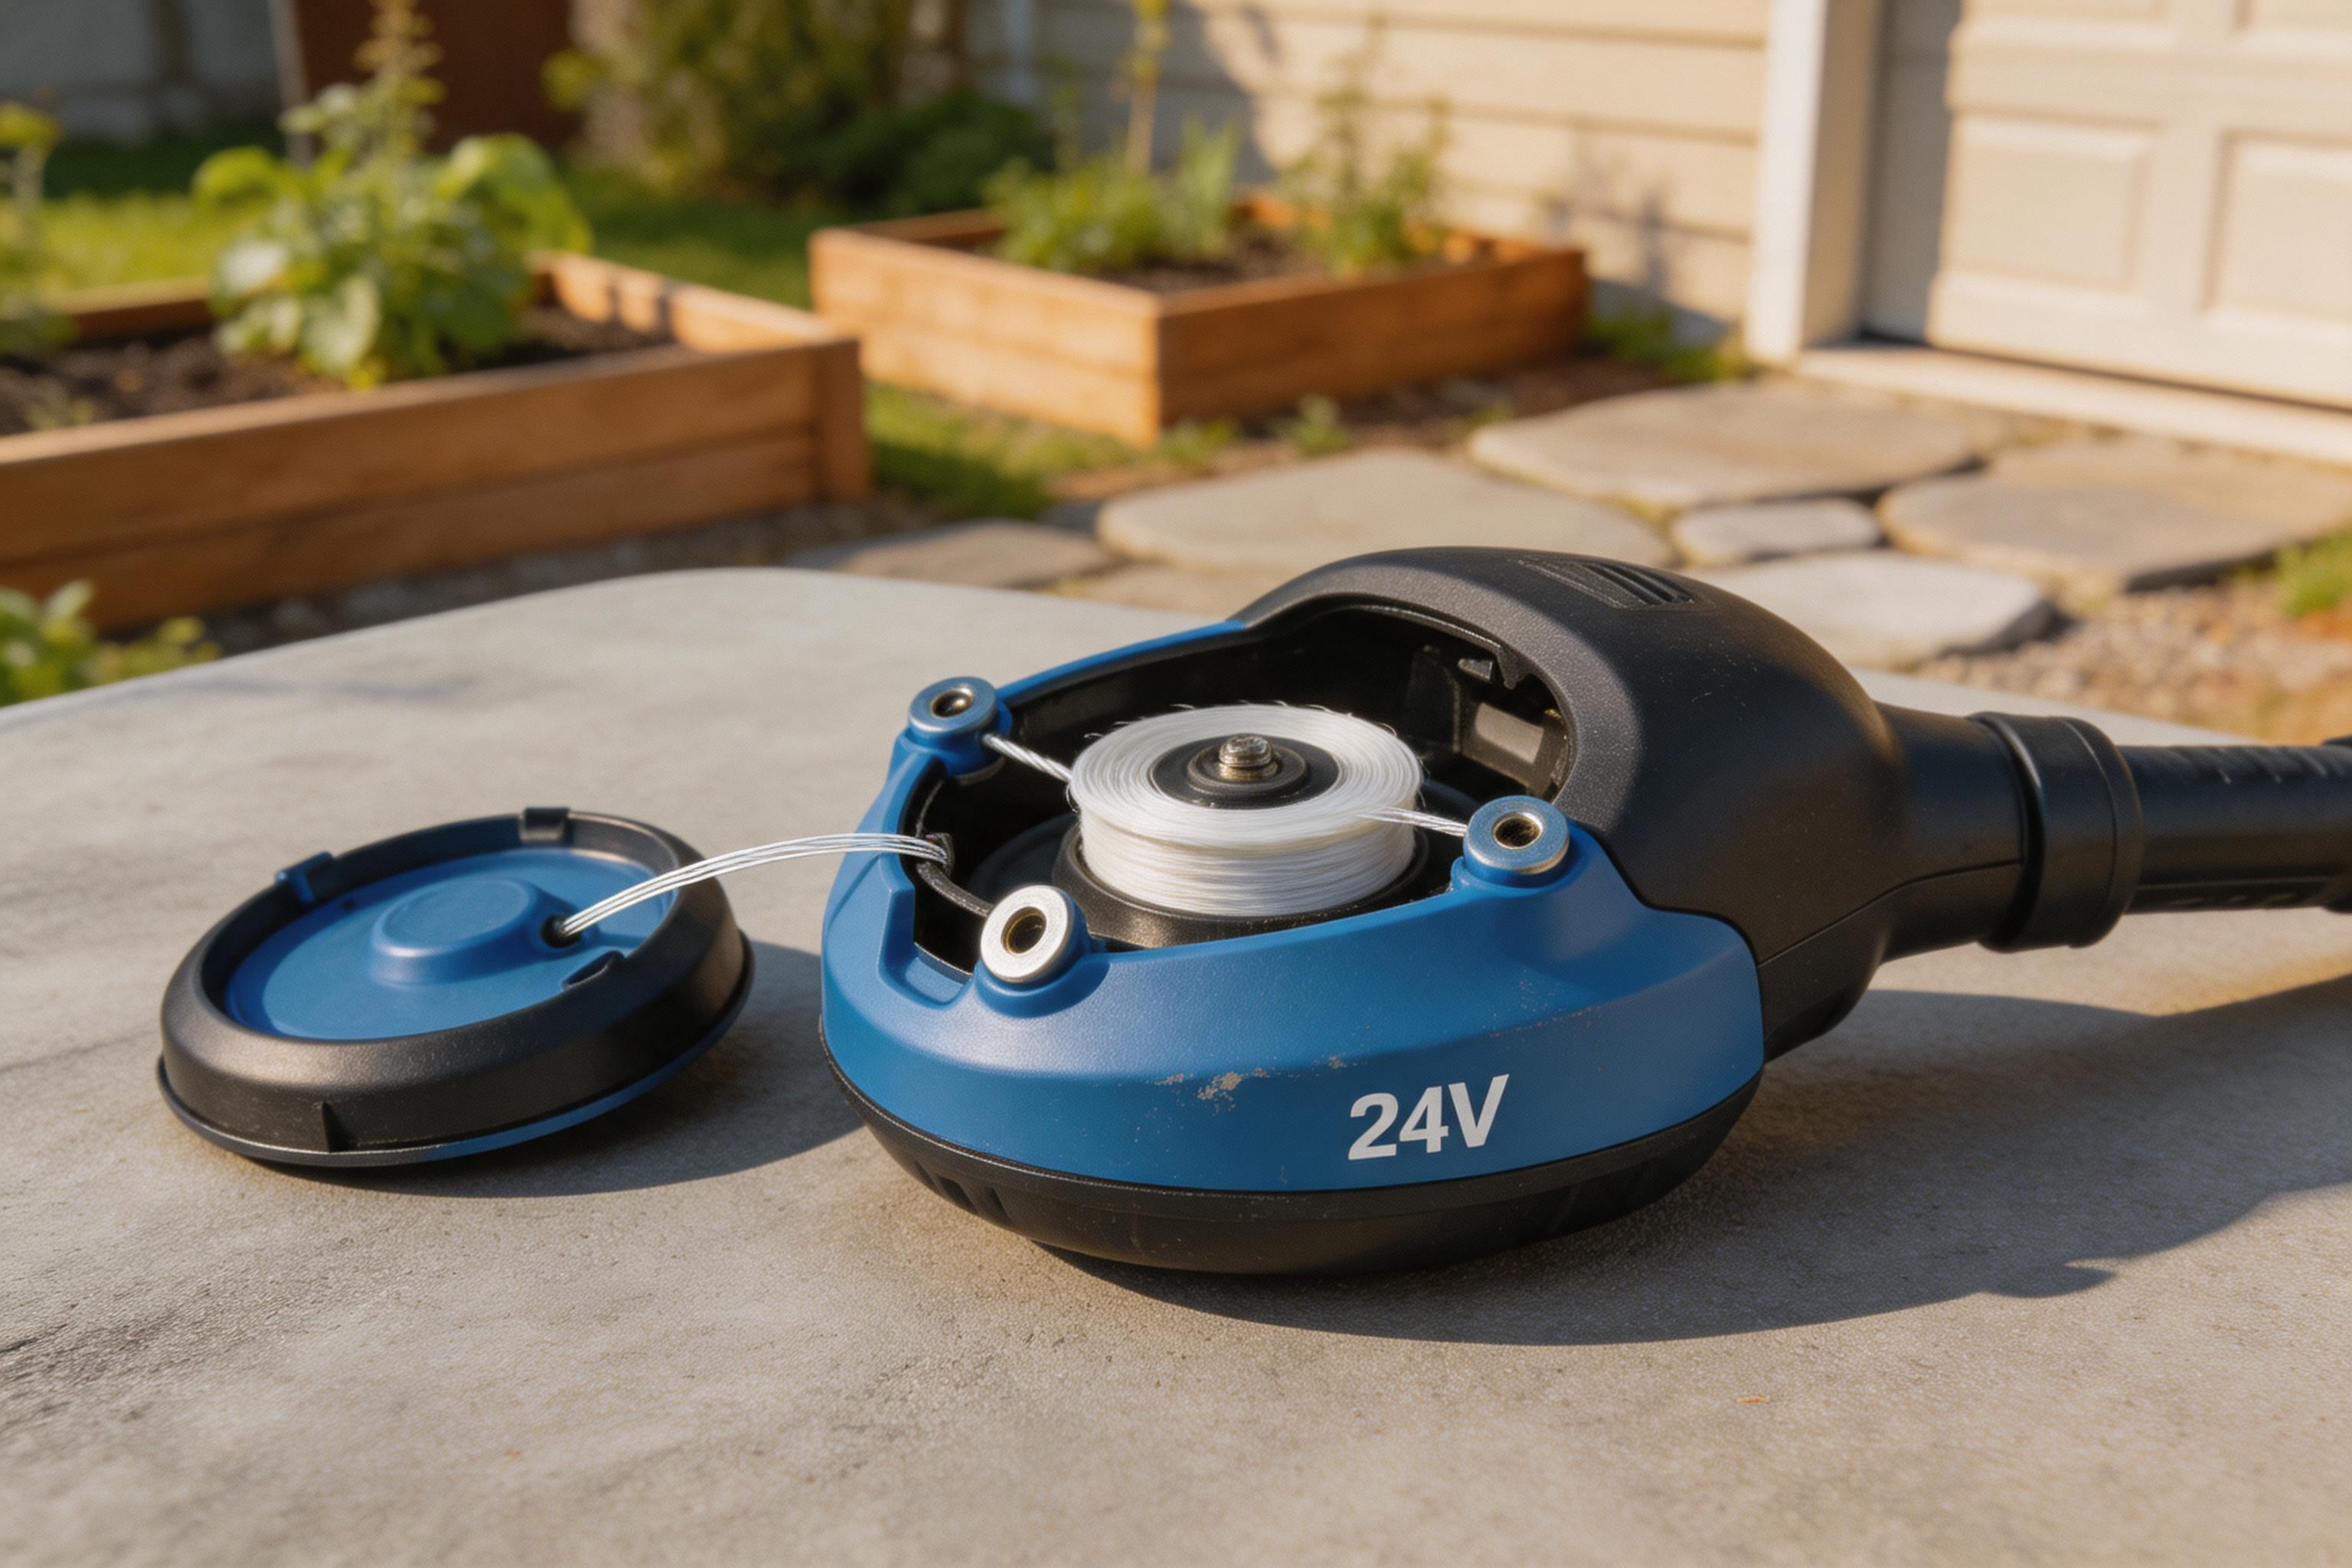
For this style of Kobalt 24V trimmer, check three things before installing:
- The spool shape matches the cap and hub.
- The line diameter is marked 0.080 inch.
- The line is wound in the same direction as the arrow on the spool.
If the line is too thick, the head can bind. If it is too thin, it may feed too quickly and wear out against fence posts or driveway edges.
Step 2: Seat the spool flat
Press the cap tabs, remove the old spool, and clean the inside of the head. Drop the new spool onto the post and make sure it rotates without wobbling. Thread the line through the eyelet before snapping the cap back on.
Step 3: Test feed before trimming
Reinstall the battery and run the trimmer for a few seconds over an open patch of grass. Tap the head lightly and confirm the line advances. If nothing moves, stop and reopen the head rather than forcing the motor.
Common mistakes
- Leaving old line fragments inside the head.
- Installing the spool upside down.
- Pulling too much line out before the first test.
- Using a replacement spool that fits the diameter but not the cap shape.