
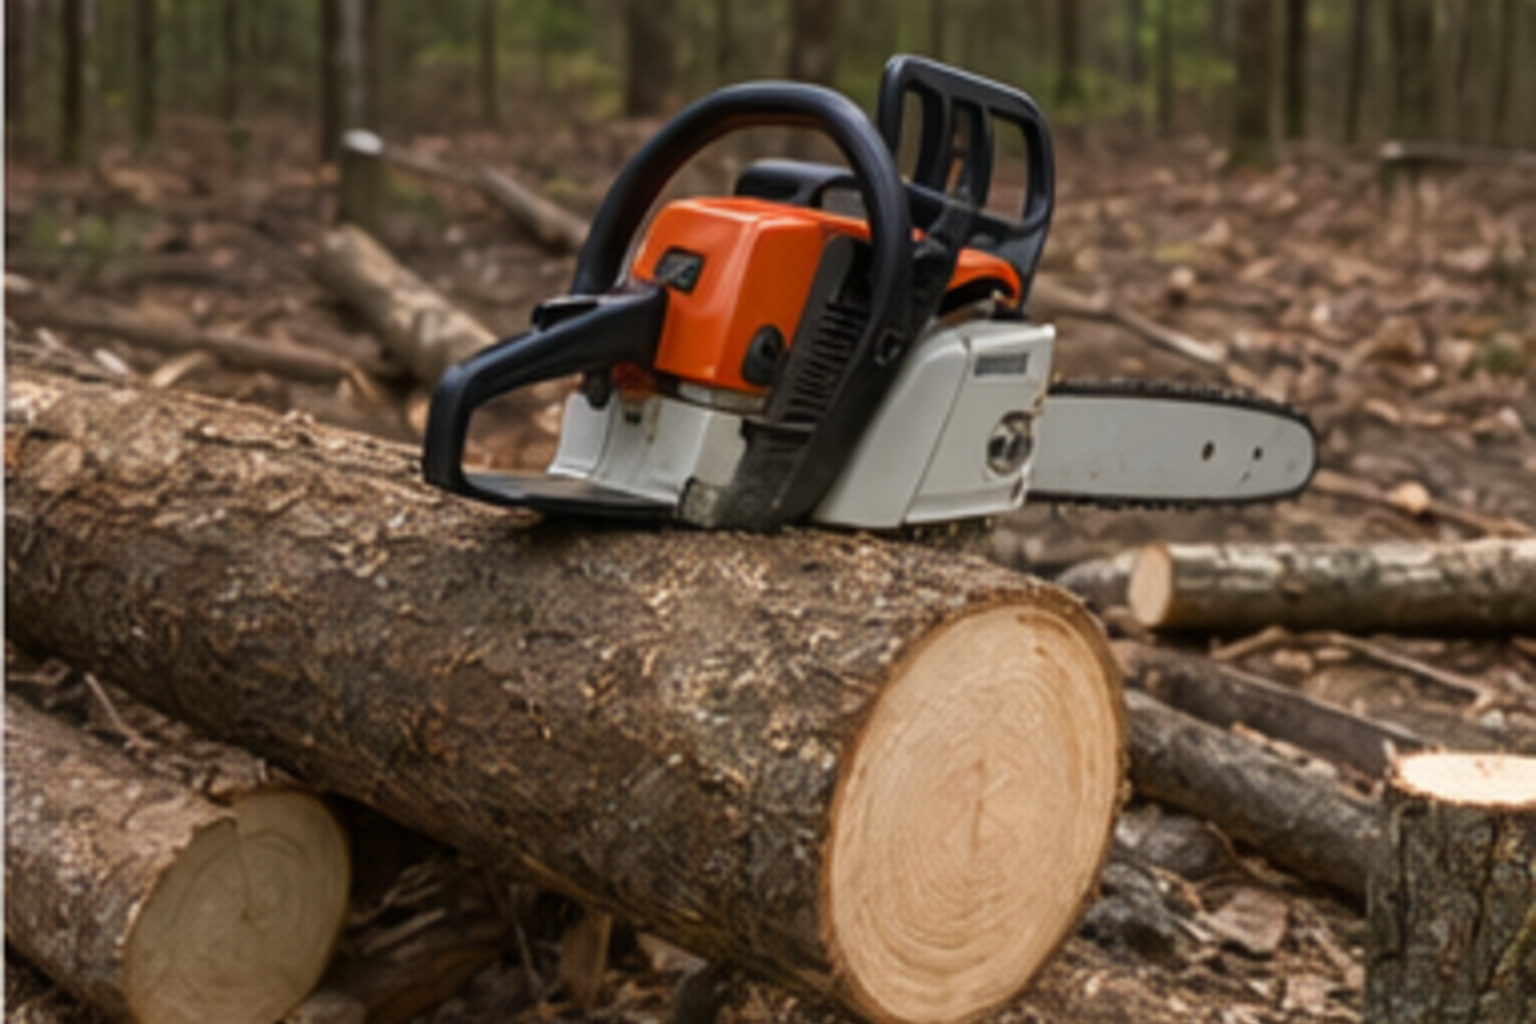
This independent manual covers Oregon S56-style replacement chain installation for compatible homeowner saws. Use it as a practical field workflow, then verify the saw bar markings and official compatibility chart before ordering.
Confirm the numbers in daylight
Chain packages look similar in a garage drawer. Before opening the saw, read the bar stamp or old chain specs and confirm pitch, gauge, and drive-link count.
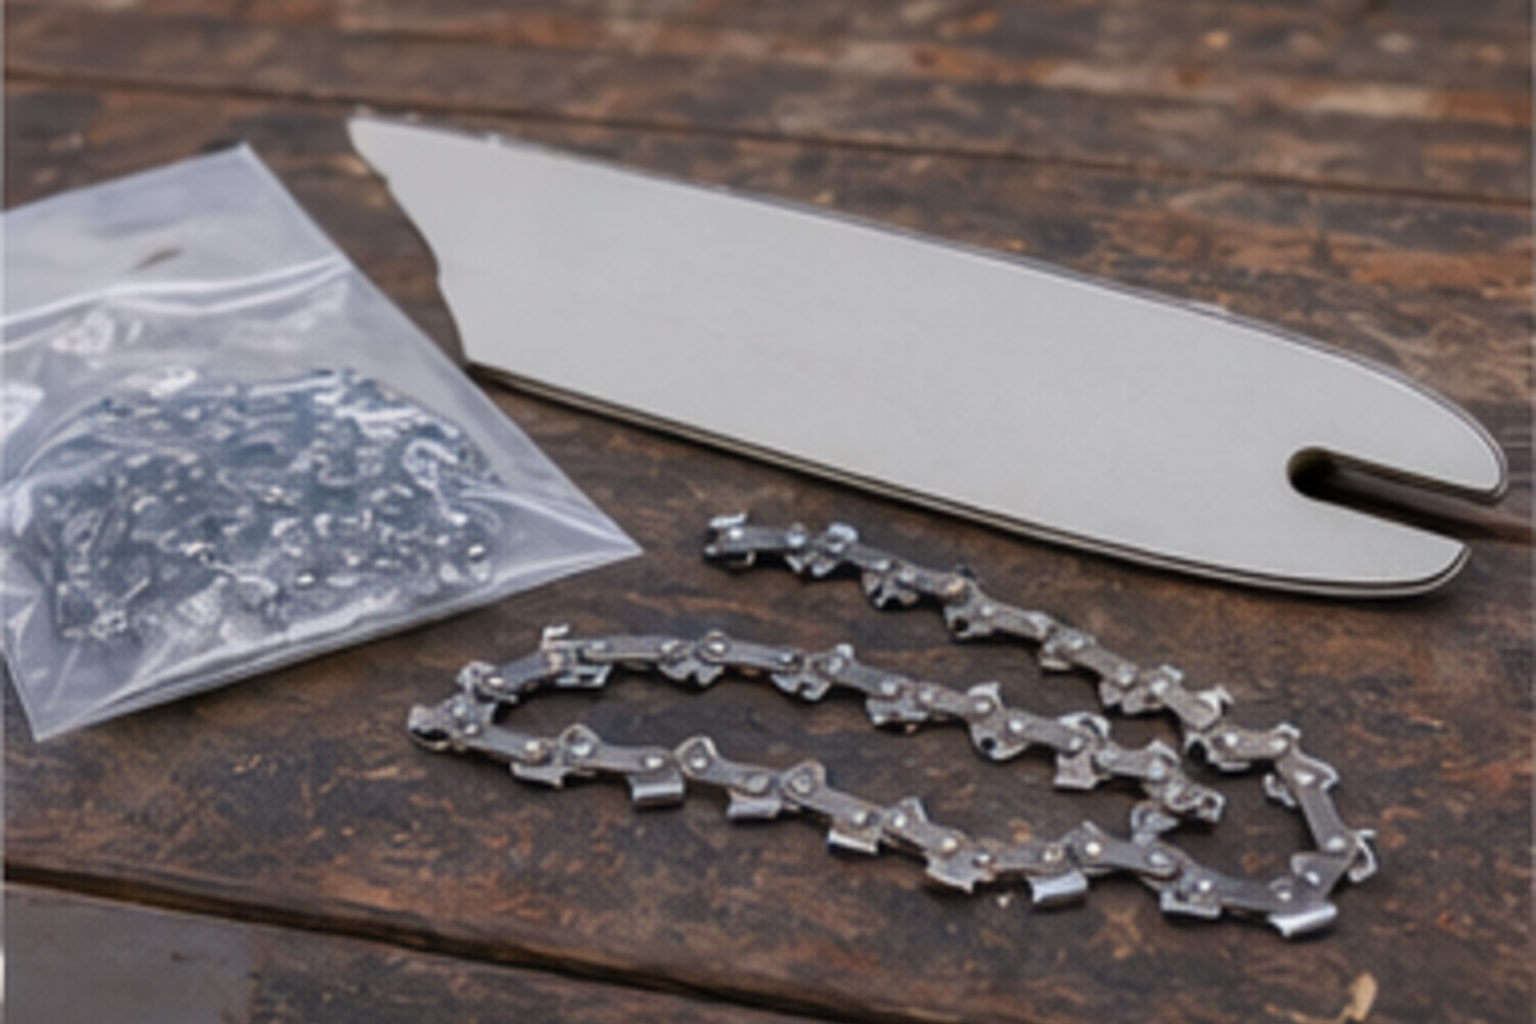
For an S56-style chain, the drive-link count is part of the fit. A chain with the wrong count will not tension correctly even if the pitch looks right.
Step 1: Clean the bar groove and oil hole
Remove the clutch cover, old chain, and bar. Scrape the bar groove clean with a thin tool or folded cardboard, then clear the oil hole. Woodlot chips and bar oil can pack into a hard paste.
Step 2: Install with cutters facing forward
Seat the chain around the sprocket, then along the bar. The cutter teeth on the top run must face the nose of the bar.
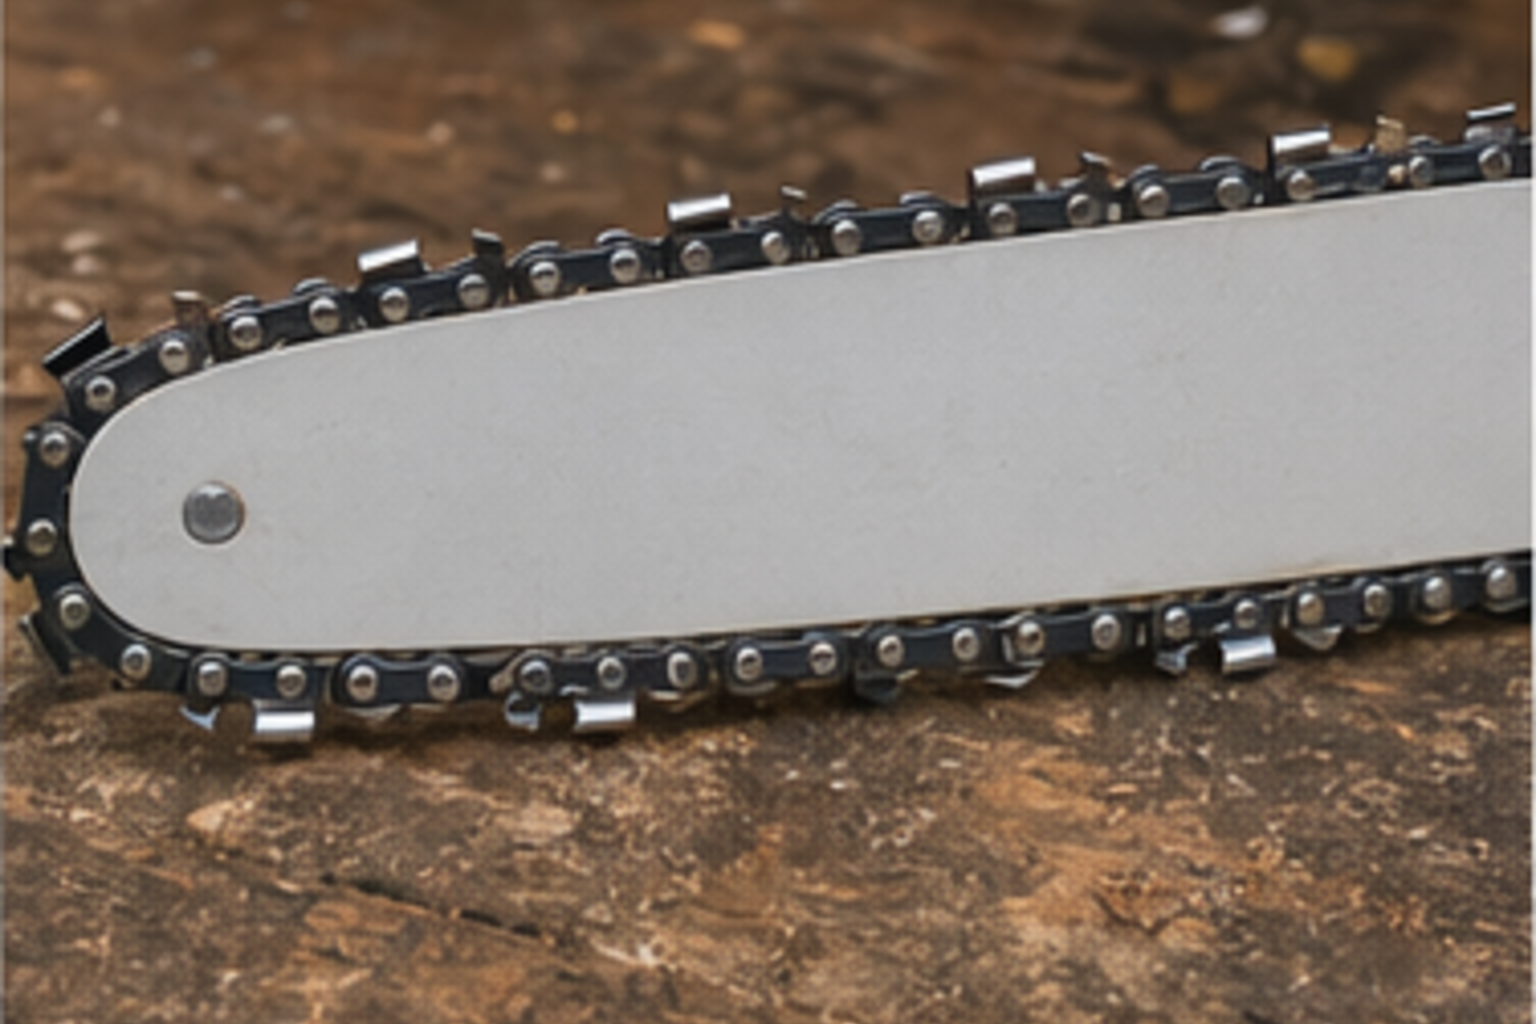
If the chain looks backward, it is backward. Flip it before tensioning. A backward chain will make dust, smoke, and frustration instead of chips.
Step 3: Tension after lifting the bar nose
Put the cover back on loosely. Lift the bar nose and tighten until the tie straps sit against the bottom of the bar with no sag. Pull the chain by gloved hand. It should move smoothly without drooping.
Run one short cut in clean wood, then stop and recheck. New chains often stretch slightly after the first few cuts.
Field checklist
- Battery removed or spark plug boot disconnected before service.
- Bar oil filled before first run.
- Chain brake tested before cutting.
- Tension checked after the first cut and again after five minutes.
- Spare gloves and scrench kept with the saw, not back in the garage.