
This guide is written for the common MS 170 / MS 180 homeowner saw format. It is not an official manufacturer manual; verify pitch, gauge, drive-link count, and bar mount against the label on your saw before ordering.
Parts to confirm before buying
| Checkpoint | What to verify |
|---|---|
| Chain pitch | Match the original chain or guide-bar marking. |
| Gauge | Drive links must sit fully in the bar groove. |
| Drive links | One extra link is enough to ruin tension. |
| Bar mount | Slot, oil holes, and tension-pin hole must line up. |
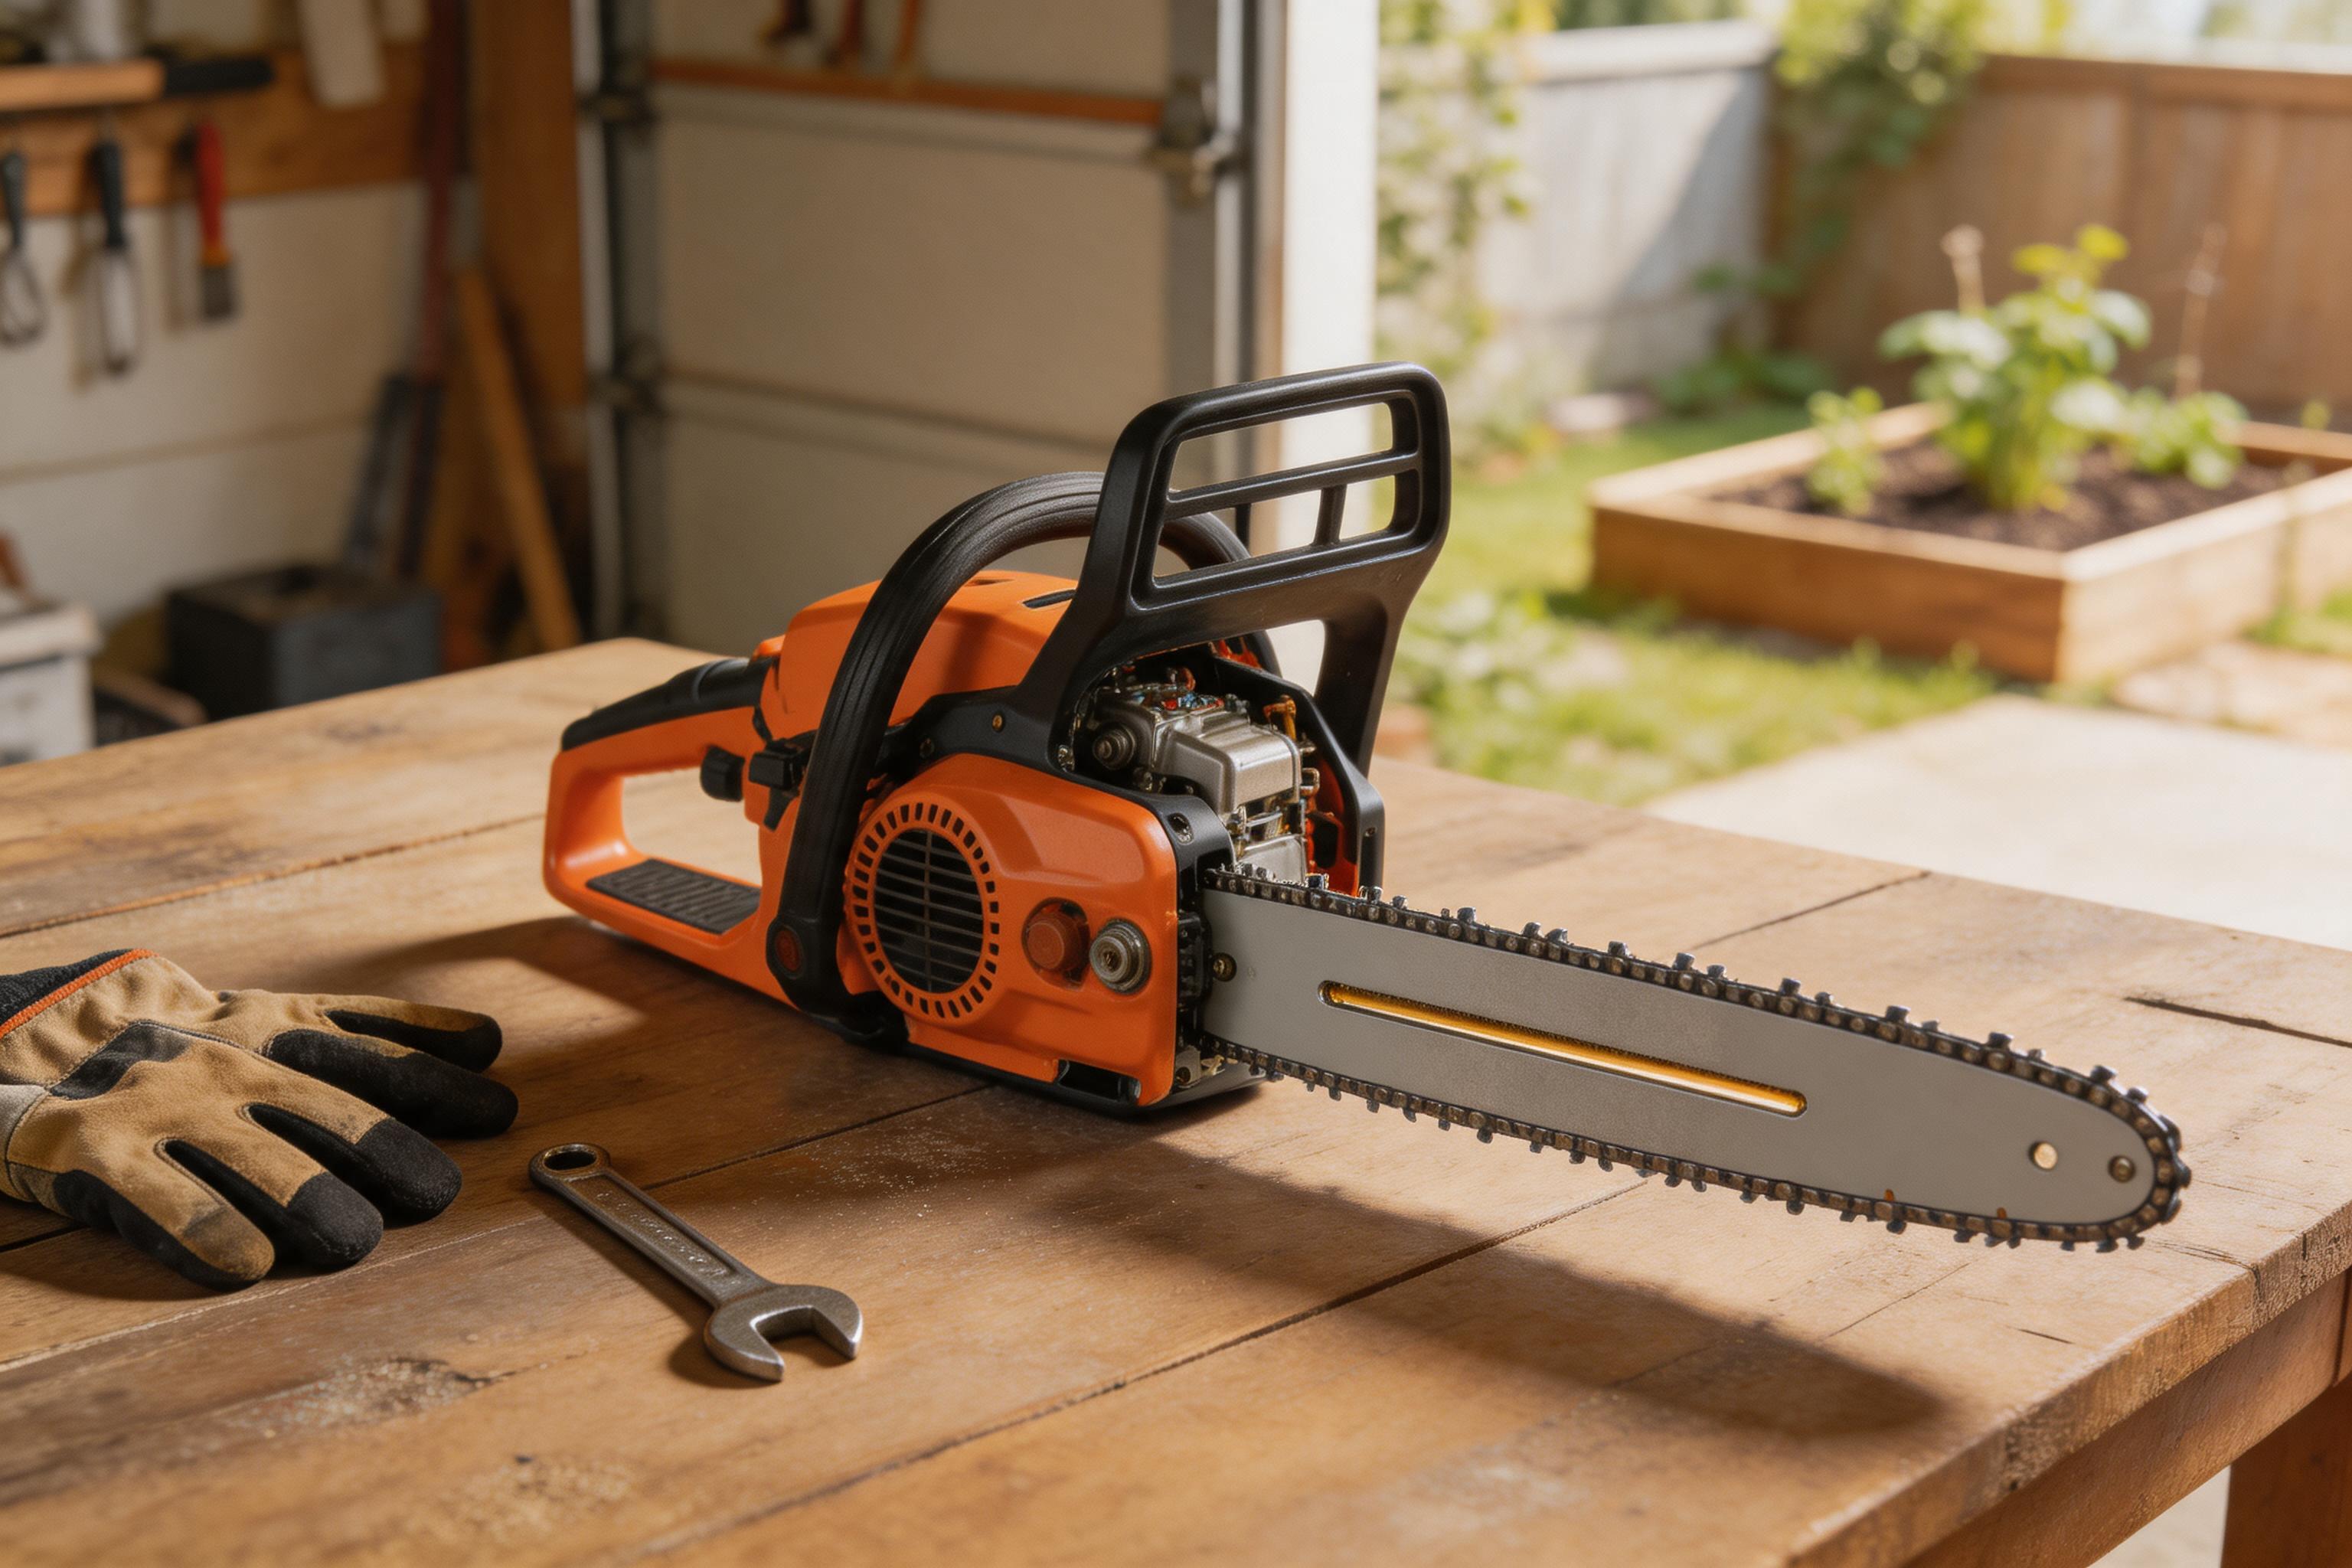
Bench setup
Remove the spark plug boot and engage the chain brake before touching the chain. Put the saw on a stable bench with gloves, a scrench, and a small brush nearby. Most first-install frustration comes from trying to tension a new chain over packed chips and old oil paste.
If the oil port and bar pad are clean before the new bar goes on, the saw oils better and the bar sits square sooner.
Replacement sequence
- Loosen the bar nuts and remove the clutch cover.
- Back off the tension screw so the bar can move inward.
- Lift the old chain from the sprocket, then remove the bar.
- Clean the oil port, bar pad, and tension-pin area.
- Install the new bar and seat the new chain around the sprocket first.
- Check that the top cutters point forward toward the bar nose.
- Lift the bar nose while tensioning until the chain just touches the underside of the bar.
- Tighten the nuts and pull the chain by gloved hand to confirm smooth travel.
First-cut inspection
Make one short cut in clean wood, then stop the saw and recheck tension. New chain settles fast on small homeowner saws. If the chain droops after the first cut, retension before doing the real work.
Common mistakes
- Installing the chain backward because the cutters look symmetrical at a glance.
- Tensioning with the bar nose hanging down.
- Ignoring a clogged oil slot.
- Reusing a worn bar with a chain that does not match the groove.