
A dull mower blade tears grass instead of cutting it. The lawn looks gray at the tips, the mower works harder, and the next watering does less good. Replacing the blade is a good once-a-season garage job.
Safety setup
Disconnect the spark plug wire or remove the battery. Tip the mower with the air filter and carburetor side facing up, so oil and fuel do not run into places they should not. Wear gloves; even a dull blade can cut skin.
That one bench-side photo is worth taking every time. Most upside-down installs happen because the operator assumes the lift wing will be obvious after the bolt is out.
Step 1: Mark the blade orientation
Before removing the old blade, note which side faces the grass and which side faces the mower deck. Many blades are stamped, but a quick phone photo is the easiest insurance.
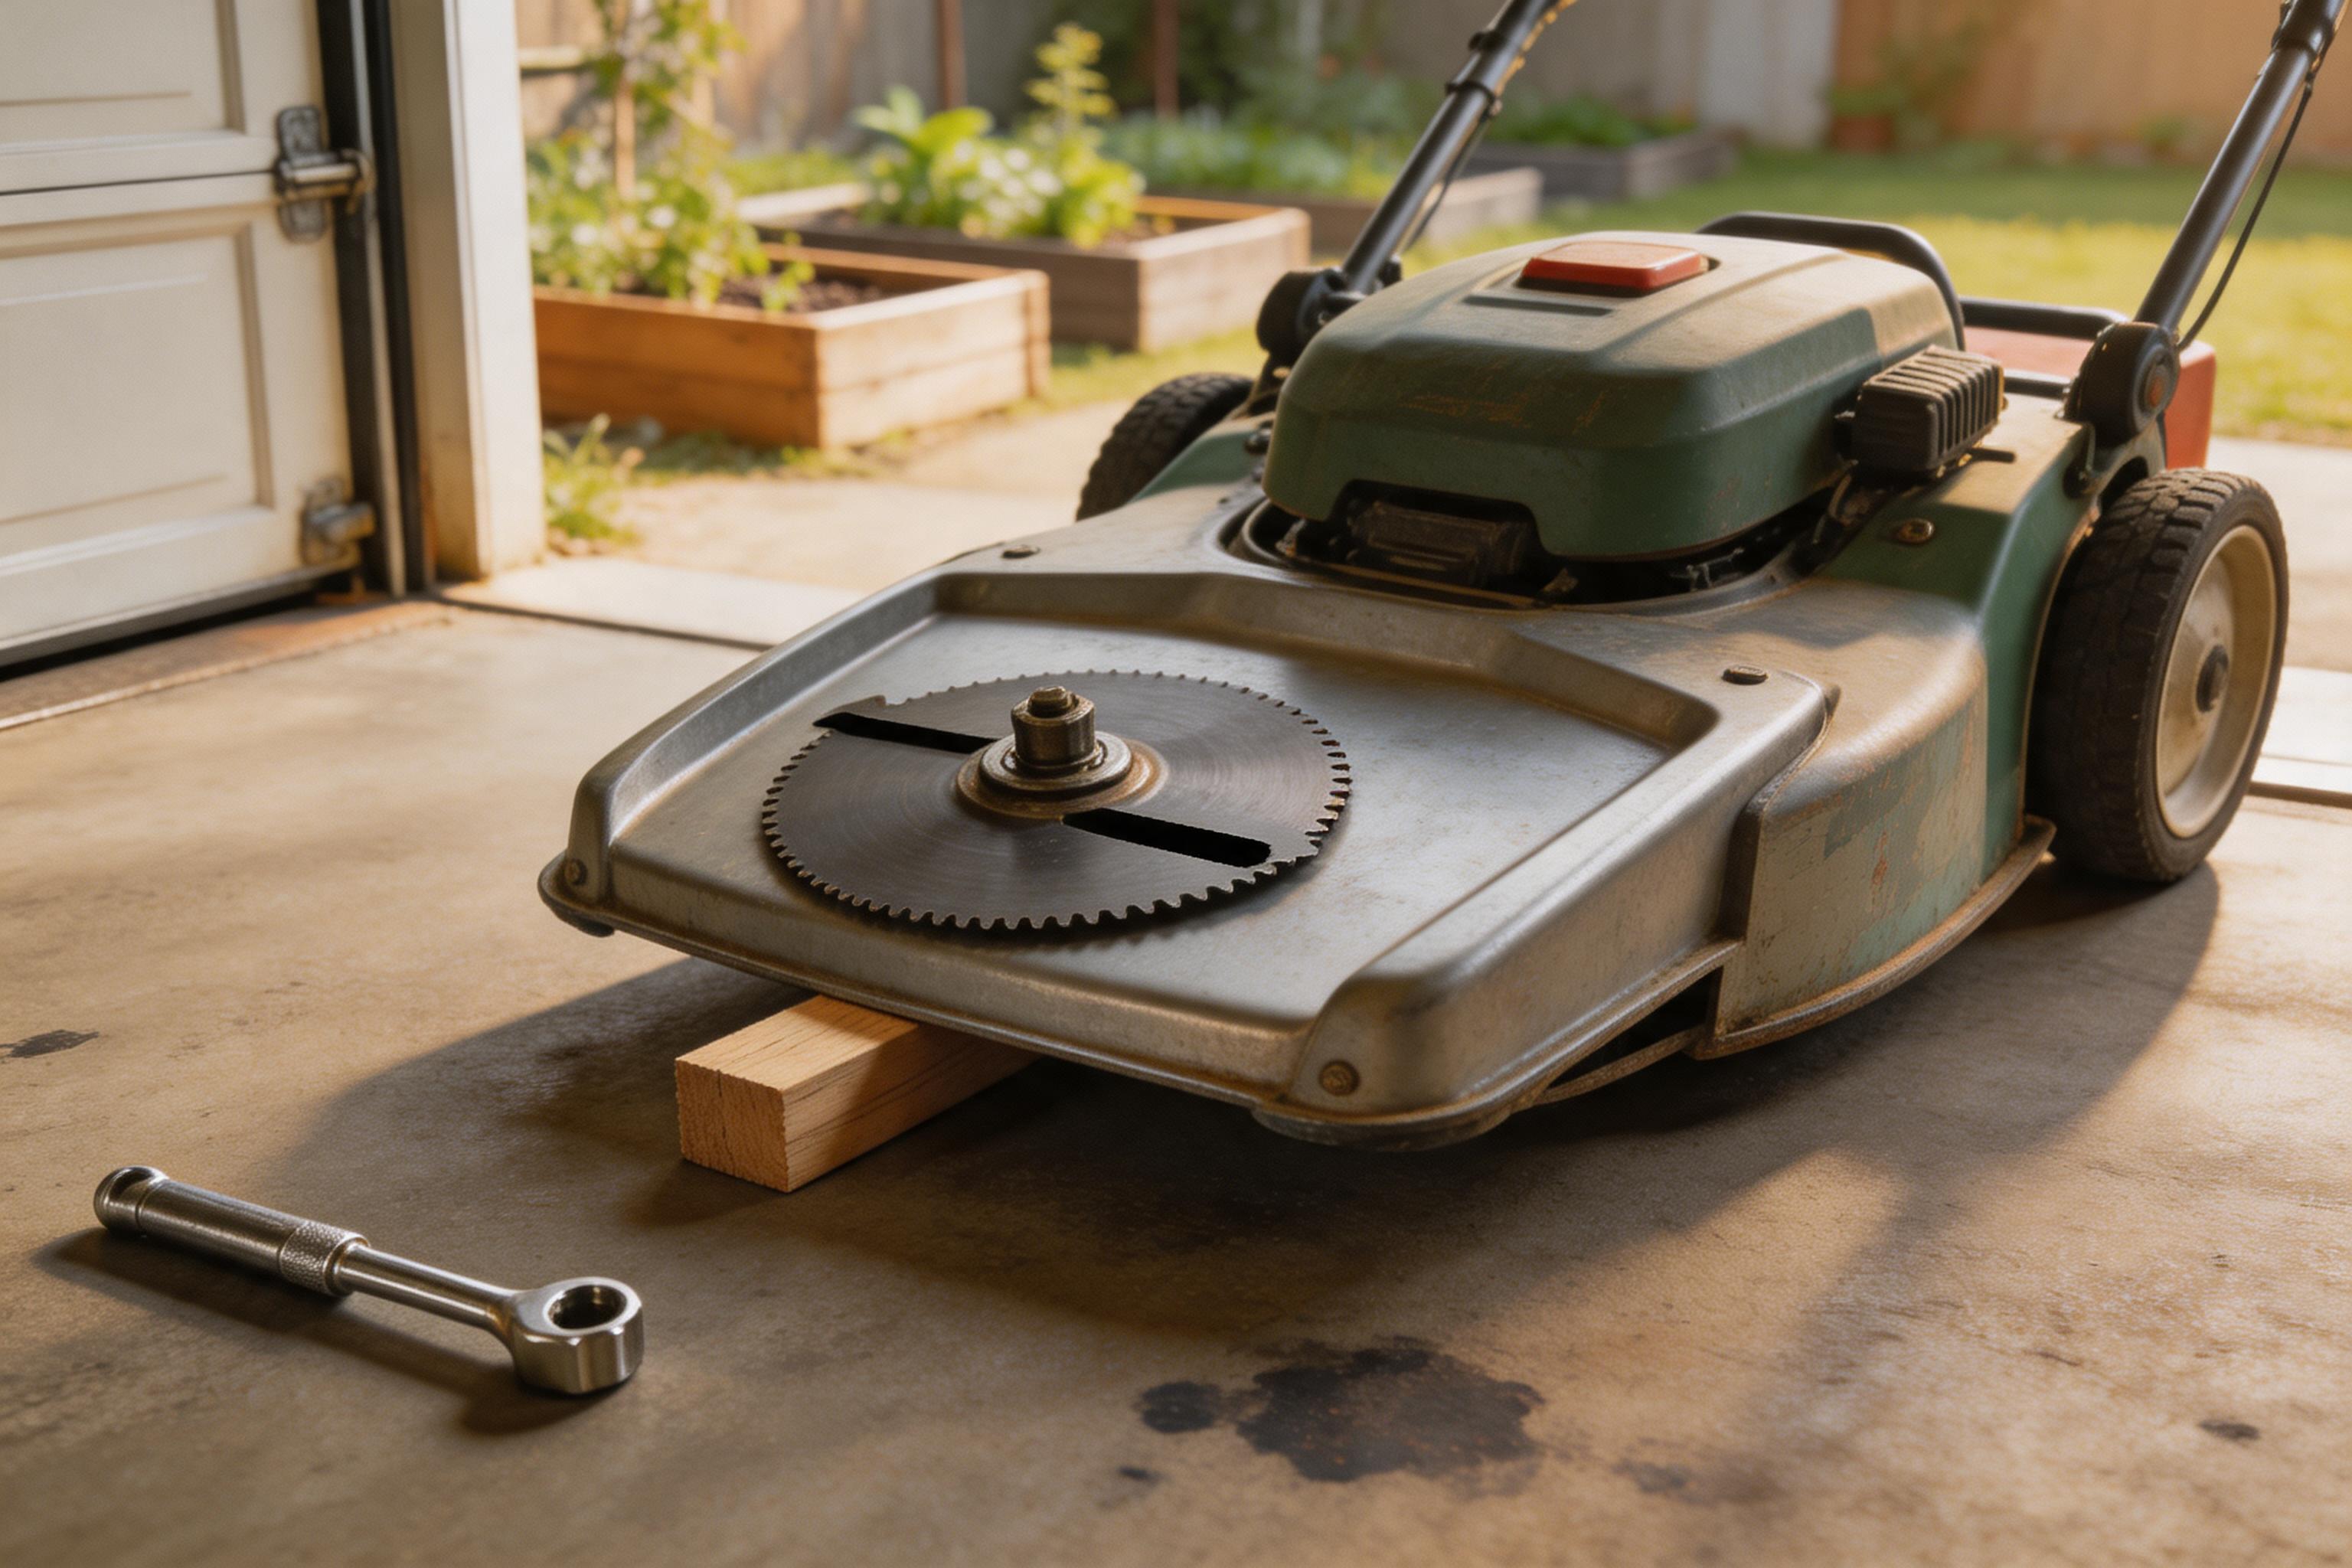
Step 2: Remove the center bolt
Block the blade with a scrap of wood and loosen the center bolt with a socket wrench. If the bolt fights you, use steady pressure rather than bouncing on the wrench.
Step 3: Compare old and new
Match length, center hole, lift wings, and mounting pattern. A blade that bolts on but has the wrong lift can leave clumps or stress the mower.
Step 4: Torque and inspect
Install the new blade in the same orientation, tighten to the mower manual's torque spec, then spin it by hand to confirm it clears the deck. After the first short mow, stop and inspect the bolt again.
A simple seasonal rule
Replace or sharpen at the start of spring, then inspect again halfway through the season if the mower hits sticks, stones, or dry soil.