
A worn self-propel belt rarely fails all at once. More often the mower starts creeping weakly uphill, pauses before it pulls, or leaves hot rubber dust under the cover. Replacing the belt is straightforward if you identify the belt correctly before ordering.
Measure before you remove
Look for the old belt code first. If it is unreadable, record the working dimensions instead:
- Belt top width.
- Outside length or effective length.
- Belt profile or section.
- Pulley count and routing direction.
The right belt is not just "close enough to fit around the pulleys." It has to sit in the pulley correctly and tension within the travel the mower was designed for.
Document the path
Take a phone photo before you pull the old belt free. Small self-propel systems are easy to misroute because one guide tab or keeper can disappear visually once the belt is off.
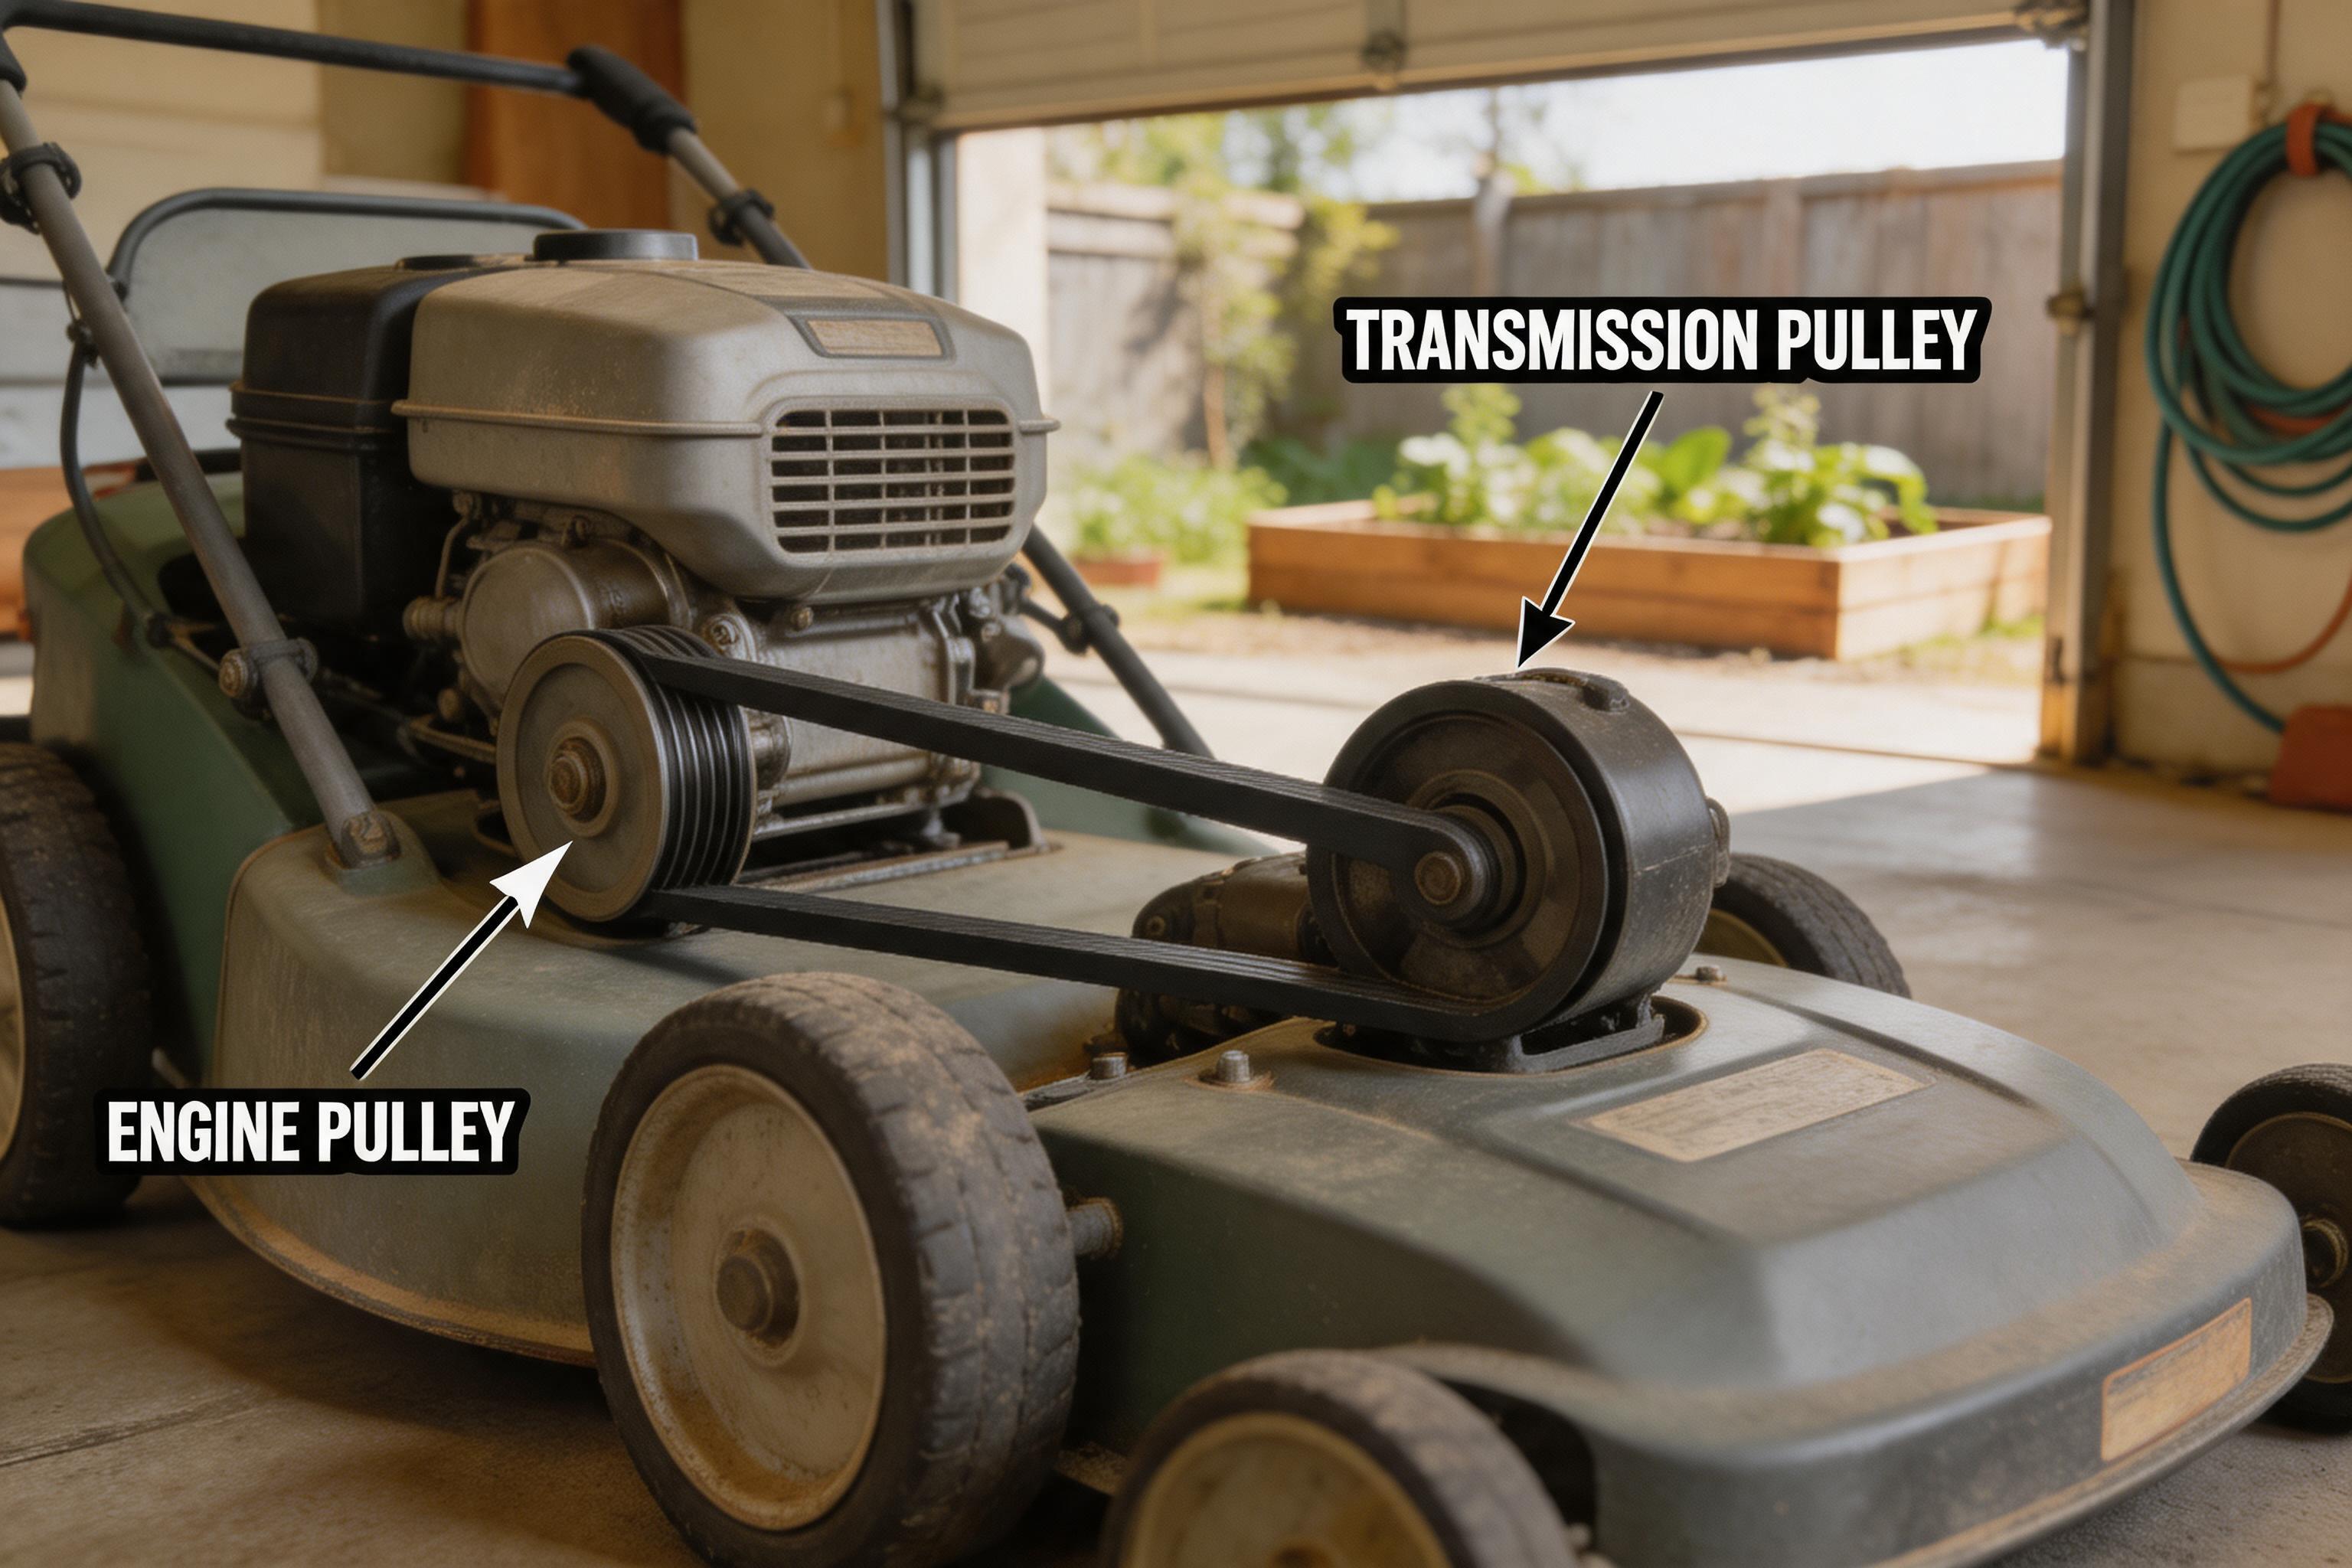
That picture is your fastest insurance against reassembly mistakes.
Replace in a clean system
Before installing the new belt, clean grass paste and rubber dust out of the cover, pulley grooves, and guide tabs. A good belt installed into a dirty path wears early and sounds bad immediately.
Post-install checks
- Belt sits fully in both pulleys.
- Keeper tabs do not rub under hand rotation.
- Self-propel engages smoothly on a short driveway test.
- Cover goes back on without pinching the belt.
If the mower still surges or slips after the new belt, inspect the cable adjustment and drive pulley wear before blaming the replacement belt.